
How To Clean A Saxophone
Properly cleaning your saxophone keeps it in top condition and prevents costly repairs. Pretty important, right? You should perform the cleaning steps below every time you put the saxophone back in the case. We’ll also talk about more infrequent cleaning steps to keep in mind.
Don’t worry if the steps below seem daunting. You’ll soon be in a routine that becomes second nature.
Skip to a Section:
How to Properly Clean a Saxophone
What Are The Most Common Maintenance Issues With the Saxophone?
What Are The Stickiest Keys on the Saxophone?
Other FAQs About Cleaning Your Saxophone
How to Properly Clean a Saxophone (Summary)
Here are the overall steps for cleaning a saxophone before you put it back in the case (we’ll provide more detail in the following sections):
- While disassembling your saxophone, gently shake off and/or blow off any moisture.
- Put your reed into a flat storage device.
- Use a mouthpiece brush if you have it to clean out your mouthpiece.
- Put your mouthpiece back in your case.
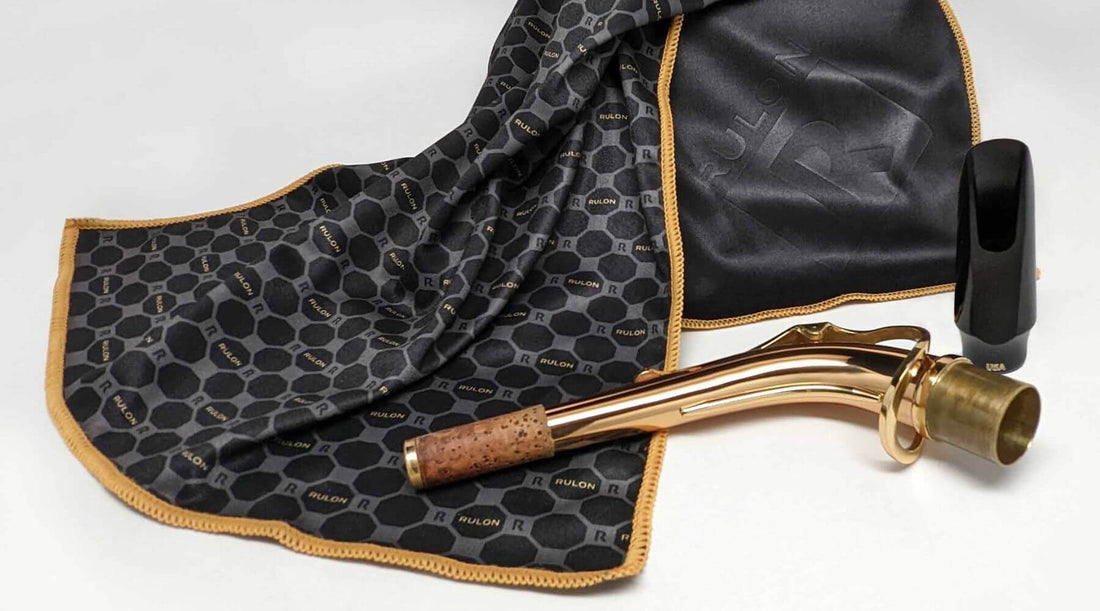
- Swab your saxophone with a saxophone-specific swab.
- Dry your key pads with a pad dryer or by blowing the moisture off each key (we’ll tell you which keys to focus on).
- Put your end cap back in the body of the saxophone and return it to the case.
Continue reading for a detailed walkthrough of each of these steps. Or, if you’re more of a visual learner, you can follow along with this video:
Disassembling and Swabbing Your Saxophone
- Gently rotate the mouthpiece off the saxophone neck, shake it off, loosen up the ligature, and gently put the reed in its case to dry flat (you can use something like our Reed Guard). Stash that in your case.
- Put your mouthpiece cap over the mouthpiece (with the ligature still on) and put it back in your case.
- If you’re using a silk swab (like this), you can leave your neck on the instrument. Otherwise, unscrew the neck screw and gently pivot loose the neck of the saxophone (don’t squeeze or grip tightly). Shake any moisture out of the neck and put it back in your case.
- If you have a mouthpiece brush, you can run it through your mouthpiece to discourage bacteria, yeast, or fungus from taking root in your mouthpiece.
Next, let’s swab and dry the body of the saxophone. This keeps your key pads from getting sticky, which is frustrating and costly. Here’s how to swab and dry a saxophone:
- First, open up the palm keys (see image below) to blow out any dripping moisture and condensation inside. This helps them last longer and play better.
- With your saxophone swab, drop the weight and string down the bell (if using a silk swab, you can leave the neck on the saxophone; otherwise, remove the neck).
- With both hands on the instrument (handle carefully!), gently rotate the saxophone so that the weighted end of the swab falls through the other side of the saxophone.
- Pull the swab through.
- Repeat 1-2 more times.
- Put the end cap back into the top of the saxophone body and return it to the case.
For reference in step 5, here’s where your palm keys are on the saxophone:

How to Clean and Store Your Reeds
Reeds don’t need any special cleaning, but they do require proper storage. Two important factors in reed storage are allowing the reed to dry flat and protecting the delicate tip from damage.
Something simple like the Key Leaves Reed Guard is excellent for accomplishing these two requirements.
Some players are also attentive to the humidity levels in the reed’s environment. You can purchase advanced, humidity-controlled reed storage cases or even make your own with products like Humidipaks. However, this is not a requirement.
Cleaning the Saxophone Mouthpiece
Every so often (around every month or so), you’ll want to deep clean your mouthpiece with lukewarm water and mild soap. This is important whether your sax mouthpiece is made of metal, plastic, or hard rubber (which often feels similar to plastic). Never use hot or cold water when cleaning your saxophone mouthpiece. This may discolor and even warp some plastic and rubber materials. Never boil a saxophone mouthpiece. That is sure to cause damage.
You may also want to clean your mouthpiece if you’ve recently been sick or had any mouth or lip sores.
What Are The Most Common Maintenance Issues With the Saxophone?
The most common maintenance issue seen in the repair shop is sticky keys, or more specifically, sticky key pads (the leather or leather-like pad underneath each saxophone key cup).
Particles from your environment combine with the moisture and condensation from playing to form what can only be described as “gunk.” This gunk builds up and leads to annoyances like squishy, slurpy sounds when the key opens, all the way to significant issues where the key doesn’t open when playing.
Never eat or drink while playing your saxophone. Your mouth and breath are already full of bacteria and other sticky stuff without adding in all the sugars, yeast, food bits, and other stuff that blows into the saxophone when you eat or drink. If you must drink while playing the sax, drink water.
What Are The Stickiest Keys on the Saxophone?
Gunk build-up and sticking are most common on the G# key, low C# key, the pinky Eb key, the bis Bb key, and the palm keys (including every pad from palm high D up).
We conducted a year-long test of never cleaning the saxophone to see what keys were stickiest and how to prevent sticky pads. If you want the deep-dive science, the results are disgusting but informative! Learn more about the science of Key Leaves efficacy here.
How to Prevent Sticky Keys
Swabbing the saxophone and fully drying the key pads, as we’ve discussed in this article, is a fundamental preventative measure, especially for those keys that are most prone to sticking.
In addition to swabbing the saxophone, you can use a saxophone pad dryer (especially focusing on the problematic keys) to make sure the tone hole and pad leather material are dry. You can also consider using Key Leaves saxophone key props to open problematic keys while in your case (to promote airflow and dry keys).
Check out this video on how to prevent sticky keys using Key Leaves:
This last tip of using Key Leaves sax key props when you store your saxophone is the most effective way to prevent sticky sax keys - even if you never swab clean your saxophone! Don’t believe it? Check out the study we shared earlier here.
Other FAQs About Cleaning Your Saxophone
Can you wash your saxophone with water?
No, don’t use water to wash the saxophone. You can use lukewarm water to clean your mouthpiece; otherwise, stick to swabbing and pad drying only on the body of the saxophone. You can polish your saxophone’s exterior with a soft polishing cloth if you’d like.
How often should you clean your saxophone?
You should clean (swab) your saxophone after every use. More specifically, you should remove excess moisture and swab and dry key pads after every use. Mouthpiece cleaning can occur less frequently, such as monthly. Other cleaning, like polishing with a cloth, can be done as needed, before performances, etc.
How do you deep-clean an old saxophone?
To deep clean an old saxophone, you will typically want to seek the help of a professional. However, we have a few steps below you can try to deep clean an old saxophone:
- Gather some cotton swabs, water, and gentle hand soap.
- Add a small amount of soap to the water to make a very mild solution. If bubbles appear or the water changes color, there is too much soap.
- Looking at the sticky key, locate the metal tone hole opening. Quickly dip (don't soak) the end of the cotton swab in the soapy water and wash the metal tone hole edge. This helps soften and rub away the bacteria and grime stuck onto the tone hole.
- Keep holding the pad open and blow air across the tone hole so it dries. You can also dab it with a clean paper towel to dab it dry.
- Quickly dip (don't soak) a NEW clean cotton swab in the water and gently rub the leather pad "ring" seat where it touches the metal tone hole edge. Use as little water as you can to wet the surface of the leather without soaking the pad.
- Keep holding the pad open and blow air across the pad leather until it dries. You can also use a clean paper towel to dab it dry.
To prevent future stickiness, be sure to properly clean your saxophone each time you put it away (as we’ve discussed in this article). However, if it is too old and/or damaged, it will likely have to be replaced.Start using your Key Leaves product as directed. If sticking persists, you may need to consult your sax repair tech.